Included for the sake of completeness is an image of my efforts at traditional 18th century woodworking techniques, undertaken during a field trip to Bucklers Hard. I learned about the use of felling axes, the broadaxe, and various adzes. It was incredibly hard physically and I found this enjoyable in a perverse way, but also I discovered a really useful introduction to alternative ways of working wood. Working this great big Douglas fir log took me three days, just to achieve one flat face!
More oars.
This time made specifically for the dartmouth gig. Much longer than my first oar, significantly tapered, and with a hollowed loom. I made one, to match oars made by colleagues for my city and guilds exam. It is made from douglas fir, with spruce flukes.
Again, it was a hugely satisfying exercise in feel and symmetry, but this time working to very specific dimensions taken from plans and formers, but more significantly measured from oars that my colleagues had already completed. The cigar shaped tapered hollow was made with a gouge chisel.
In the photographs of two finished oars together, mine is the one on the right. And I couldn’t resist the star motif on the handle end which has become a sort of makers mark.
I really enjoyed the leatherwork as well. Stitching up was a beautifully meditative exercise.


Lilian. Transom and Fashion pieces.
Lilian’s new transom was a project that was begun by another student, he had made up and cut the blank from oak. It became my task to figure out and cut the bevels, and to make fashion pieces from grown oak to fit. The original stern knee was tremendously warped but somehow I managed to take a bit off here and there to make it acceptable again. Bolting the assembly into position was undertaken by my colleague Andy. Incidentally, in the photograph of the transom temporarily up on it’s A frame, you can see the starboard rubbing strake in the plastic bag about to be steamed to fit.


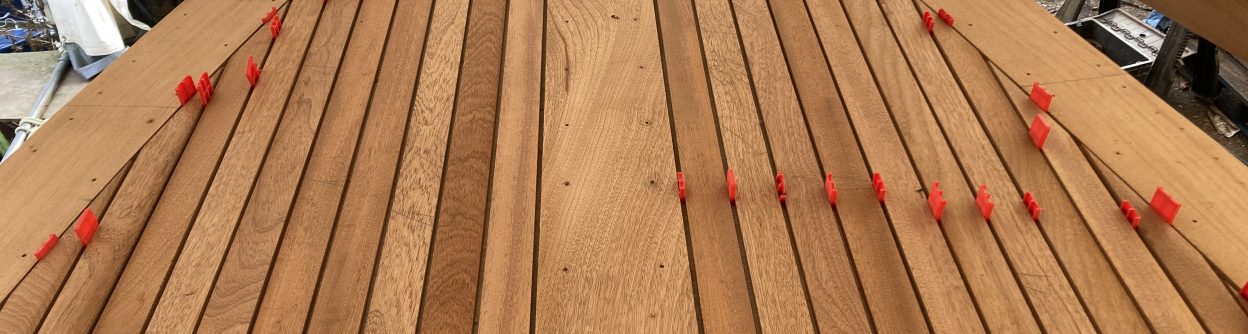
Lilian. New Rubbing Strakes.
This proved to be another of my too-busy-enjoying-the-work-to-photograph moments.
I made a pair of new rubbing strakes for Lilian of oak with an half egg shaped profile, scarfed just aft of midships. The scarfs were glued up on the bench, and the resulting eight metre lengths were steamed into place on the vessel in one big operation utilising the ‘boil in the bag’ method. You can see one of the finished rubbers in the big side view picture below, and also in one of my header pictures which shows a recent image of Lilian being lifted.


Lilian. Putting her back in shape.
This nearly foxed me for a while. Lilian is a carvel built open motor launch, about 7 metres long, and was in a terrible state. She had been lying on her side for some time before she came to college to be rebuilt, and this meant that she was terribly misshapen. She was severely flattened all along her starboard side, and for a while seemed determined to stay that way. I put in a centreline and began horning from this to establish a better shape with the use of a couple of stiff battens around her sheer to help.
Then I reworked her grown floors and futtocks. Starting at the stern and working forward. Some had been made by other students, I made or heftily altered and refitted the rest. None had been fixed into place so I gained experience of making up and fitting keel bolts and the bolts to hold lower and upper futtocks together. What isn’t the pictures are the large A frames that we eventually installed to hold the stem and stern plumb. Five sets of frames later and she was back in shape, and ready for the next step.


The Dartmouth Gig. Risers and Thwarts.
Out of the strongback and all timbered up, it was time to start fitting out. My task was to fit risers, and learned that a hefty rolling bevel to the back was needed to fit. In order to make them aesthetically pleasing my tutor, Jim Brooke-Jones explained that at all costs ‘the blob’ must be avoided. ‘The blob’ translates as just rounding things over willy-nilly. Therefore the face of the risers follow a thumbnail profile, curved face but with hard edges.
I also learned that lightening the risers fore and aft where less strength is required is a fine thing to do. So the risers lose both siding and moulding gradually over the last two and a bit feet at each end.
Made of oak and lightly steamed, they are held in place with silicon bronze screws at each timber, the heads of which are carefully plugged. The plugs are held in place with thick yacht varnish.
There are two schools of thought regarding thwarts. Fit absolutely perfectly to hull sides, or fit with a deliberate gap. After some deliberation we settled on the former as it was more technically challenging. I fitted all three thwarts, made of sapele and lightened their edge by a quarter inch by means of a bevel cut into the underside. I reckon the fit is pretty perfect, a challenge as I had to incorporate the fit to a lap of clinker planking and rove heads on each thwart end, and I very much enjoyed this task.


The Dartmouth Gig. Shaping the stem.
I did this in two stages, one tentative, and then with inspiration from our head of teaching, Bob Forsyth, I weighed in and finished the job properly.
The first stage was based on what I knew of stem shapes looking around me and left the stem head square. The second stage took me into fine boatbuilding territory and resulted in a shape that I’m very pleased with.
I’m working on a brass fleur de lis that will crown this, pictured here is a first experiment in how to do it, the real one will be much better.


Steam bent timbers.


My first experience of the power of steam bending came with the opportunity to take part in installation of timbers into our dartmouth gig. She was still in strongback, but we had removed the moulds and marked out the positions of the timbers. The oak timbers were selected for straightness of grain, prepared and soaked for several days. Timbering was a team effort and several teams of students were to be involved. Luckily I managed to wangle my way into a place on many of these teams.
I am fascinated by just how much bend is possible, that the lignins are loosened by heat and the timber should be compressed, not stretched as much as possible.


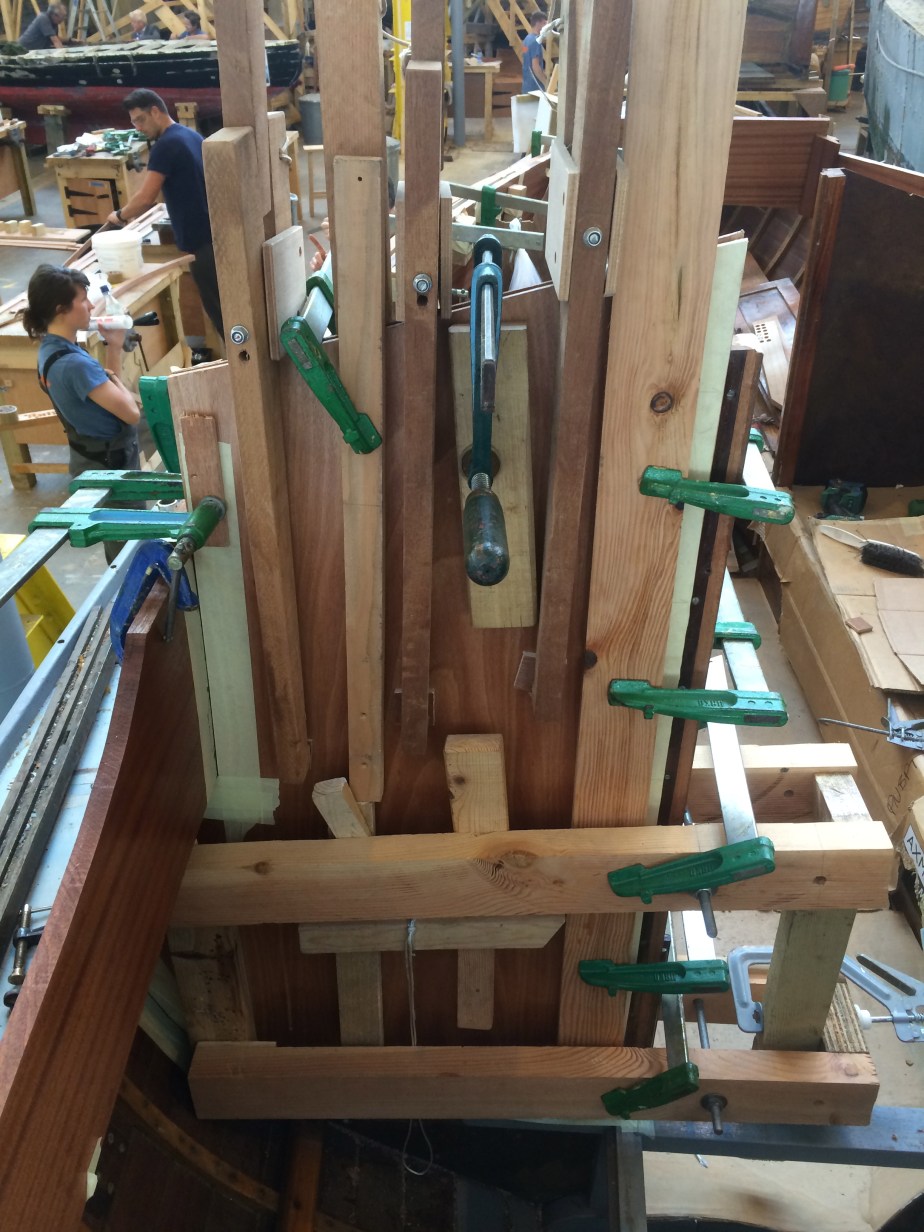
Katie and the clamps.
Katie is a carvel built folkboat, and is undergoing a complete cabin and deck refit. She was the first vessel I worked on after graduating joinery. I had the pleasure of working alongside a very talented colleague, Becci Haigh. Unfortunately I was so into the work that I went through a phase of failing to take a proper photographic record.
We laminated new marine ply onto the original bulkheads, using spiling techniques to obtain the correct shapes and west system epoxy to bond into place.
We installed new beam shelves onto the cabin sides, and cut the rolling bevel that is required for the curved coachroof to fit. We made corner posts and door surrounds, and made up patterns and laminated beams for the coachroof. All in sapele. As mentioned in the previous post I then began fitting the deckbeams.
As you can see in the pictures, you can never have too many clamps..


Splicing.


I am no rigger. I can tie a bowline, square knot, a rolling hitch, and a towmans hitch and that’s all I really need. But there is an amazing guy at school who is known as ‘Mr Knotty’. He is a rigger who has served nearly thirty years on the yard and he is a proper lovely old rogue. Here are a couple of pics of the handles he helped me splice for my shipwrights box, which I STILL haven’t got around to fitting. Oh, and the macrame keyfob for the same box. Watch this space.
