Finishing the Dartmouth Gig. Part 2.

IMG_0086

My Tutor Barnaby taught me so much about painting and varnishing in my final month of the course. I learned loads about how paint and varnish behave and achieved a finish that I never would have thought possible before. That’s not to say it’s perfect as I know it is not, however I am not about to point out my mistakes!

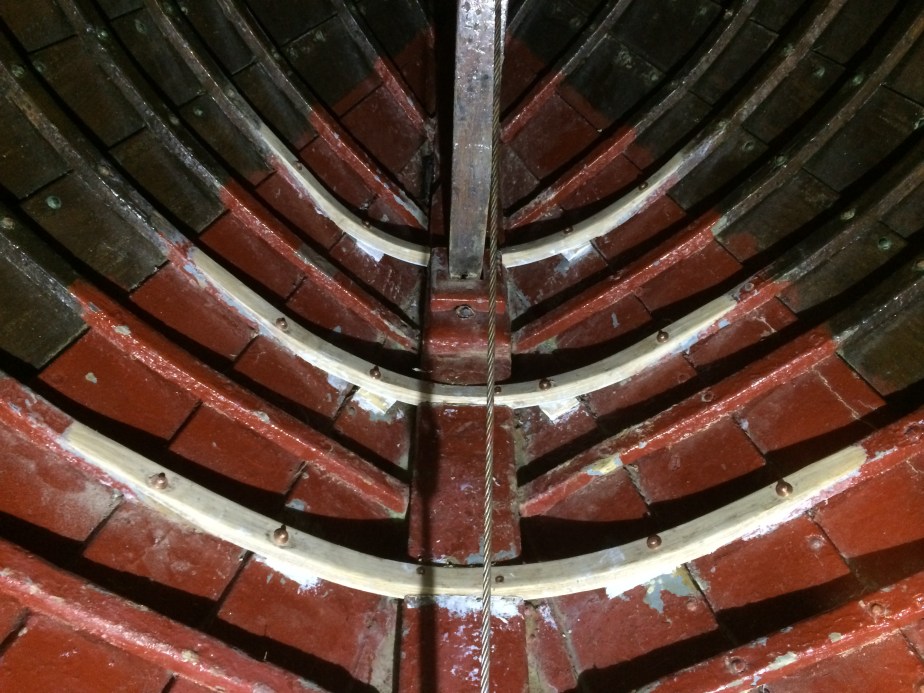
Two coats of primer, six coats of undercoat and two coats of gloss on the exterior. I think nine or ten coats of varnish but I will admit I lost count on the sheer, transom and thwarts. And much flatting off between coats.

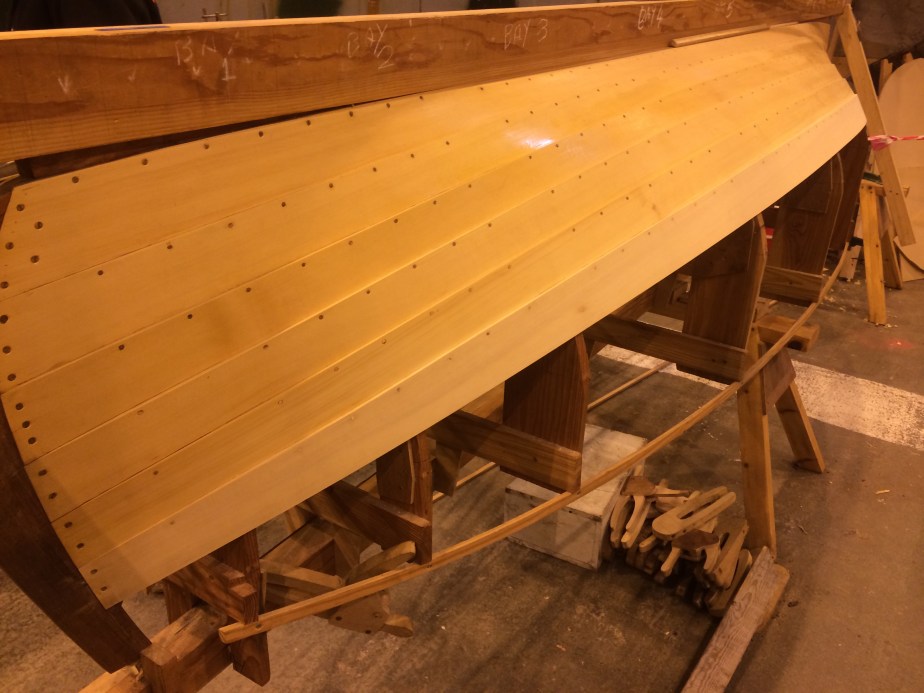
Finishing the gig was such a big job that I was lucky to extend my stay at college two weeks beyond graduation. My profound thanks to everyone at IBTCP for allowing me to do this, I loved it and it was extremely satisfying to get close to completing something for real. I say ‘close’ because you may notice the stem band (and keel band too) is still missing. With impeccable timing, delivery of the bronze to do this was severely delayed, eventually arriving literally as I was saying my goodbyes with bags packed.

Maybe I’ll go back on a weekend to make and fit them eh.

Finishing the Dartmouth Gig part 1.

This is likely to be my final big project at IBTCP, and I am really honoured to be doing it, the dartmouth gig that we have all been building is complete and I am to finish the vessel and launch her. Hopefully the original vessel that she is based on will be relaunched at the same time.

I started by sanding the entire interior, and exterior to the rubbing strake, this will be finished bright.

I also got the detail work that I had in mind done, carving simple lines and a star to ad definition. I have tried to keep it simple and unfussy.

Over the next few weeks I will be doing a lot of varnish and paintwork!

Lilian. Carvel planking.

I have decided that carvel planking is more or less the most fun you can have with your clothes on. Back on Lilian, I learned all about bevel sticks, shut planks and another way of spiling by use of dividers which is fast and accurate. I also made myself a natty brass planking bevel gauge. It’s really satisfying getting a plank to sit just so on the planking seam so there are no gaps, before planing in a lovely caulking seam two thirds of the way into the thickness. And thunking a shutter plank home has a satisfying completeness to it. I look forward to doing much more in the near future.

Chubby’s Garboard.

Here’s the plank I did for my city and guilds exam. It’s a bit special because it’s a garboard strake to a new keel and stem. It’s also a shutter, as there is an existing adjacent plank. It’s also a bit special because it’s done in elm.

You can see the hooked bits of old bandsaw blade that I developed, they are tied in position effectively clamping the garboard in position for final fit. This worked brilliantly and was a bit ‘look, no hands!’ which enabled me to go for a cup of tea halfway through.

Advanced lofting.

I was offered the opportunity to engage in an unusual lofting process. Our Victory class one design was being built with information from a battered set of plywood mould patterns from 1934, and some lovely old drawings of the same shapes. We have a copy of a construction drawing which is slightly distorted and therefore cannot be scaled from. But no lines drawing and no table of offsets. The vessel is to be built within 1/4 inch tolerance on certain dimensions in order to be ‘in class’. In an earlier post you will see that we have already built the backbone, but without any of the rabbet lines cut. However the college wanted the vessel lofted in order to establish correct angles for the rabbet line etc.

and to define the shape of eight floor timbers that they may all be cut on the bench.

It was an amazing thing to do, I led the process, working with student colleagues and on my own, it took me about three weeks. I learned that the plywood mould patterns were indeed sound. I was able to cut mould patterns of my own, lifting information directly from the lofting. I also designed the floor timbers and made bevel sticks for all of them.

Mentoring.

After Christmas I found myself in the position of mentor to two groups of students. The activities involved were ones that I’d expressed great interest in pursuing further and the tradeoff was that I would learn about what it is to lead a group of students.

Firstly, I spent a week teaching the basics of the magic of steaming, putting new timbers into Lilian, with a new group of six students each day from Southampton Solent University.

Secondly, I spent a fortnight engaged in an advanced lofting process for our victory class yacht. This was my vehicle for teaching the principles of lofting to my own junior colleagues who had just graduated joinery.

Both experiences were surprisingly intense work, and very positive. I learned a lot about communication and patience, and the occasions of seeing a light bulb come on in another’s mind as understanding clicked were well worth it.

First Clinker Plank.

This was carried out on our Adirondack guide boat, on which students are allowed one strake each.

Forgive the yellow cast of the photographs, the lighting in boathouse 4 is wanting in the depths of winter. This is compounded by the fact that the wood used is yellow cedar. A wonderfully durable, fragrant wood that is a joy to work.

Careful spiling and scribing, and the rolling bevel required to make the land a perfect fit was straightforward enough. Cutting the joint for the ends, called Geralds and Back brows was something I got really into, of course I had a couple of practise runs before going for it for real. I’m very pleased with the result and look forward to more clinker planks on a different vessel in the new year.

IMG_2246

Victory Class. Mould set up.

Following on from lofting, I was introduced to the magic of picking up moulds, making them and setting the whole lot up true to produce the shape of a vessel, onto which she will be built. Pictured here is a rebuild of our victory class design, Simba.

This was another team learning exercise, and one I found simple to grasp. The use of down-shores was a particular breakthrough in our understanding, as it helped simplify the horning process considerably. The use of battens to begin to define the strake lines is a process which is at once simple, and subtle. My mould is pictured before installation of the cross spalls that define the waterline and deck line.

Lofting.

Without doubt a most fascinating process. Taking a Chappelle designed dinghy, I worked with a team of colleagues for a week to learn the principles of lofting, and then for several early morning sessions  I discovered an affinity for this incredibly useful process. I took the exercise much further, creating our own stations and diagonals, more sections of rabbet lines around the stem, and culminating in working up expansions of a raked and radiused transom.

There are several more lofting projects in the pipeline at IBTCP and I am looking forward to learning even more. Lofting is useful. With simple pencils and nails, tick-sticks and battens, and a methodical approach, it’s possible to calculate the exact dimensions of any and every part of a given vessel. Absolutely brilliant.