Painting Planta Genesta.

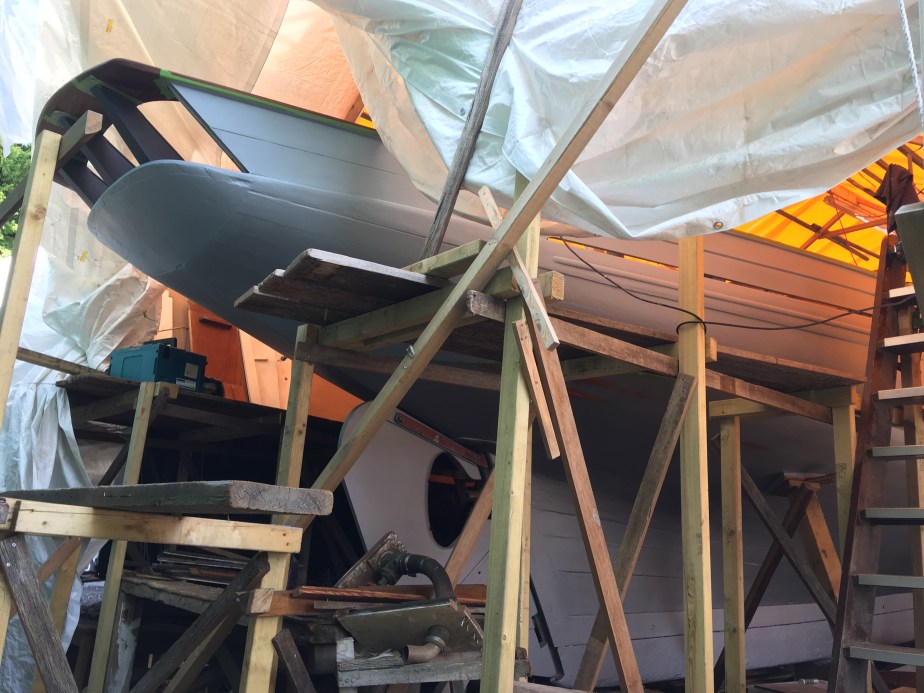
Always takes longer than you’d think. About a month in this case.

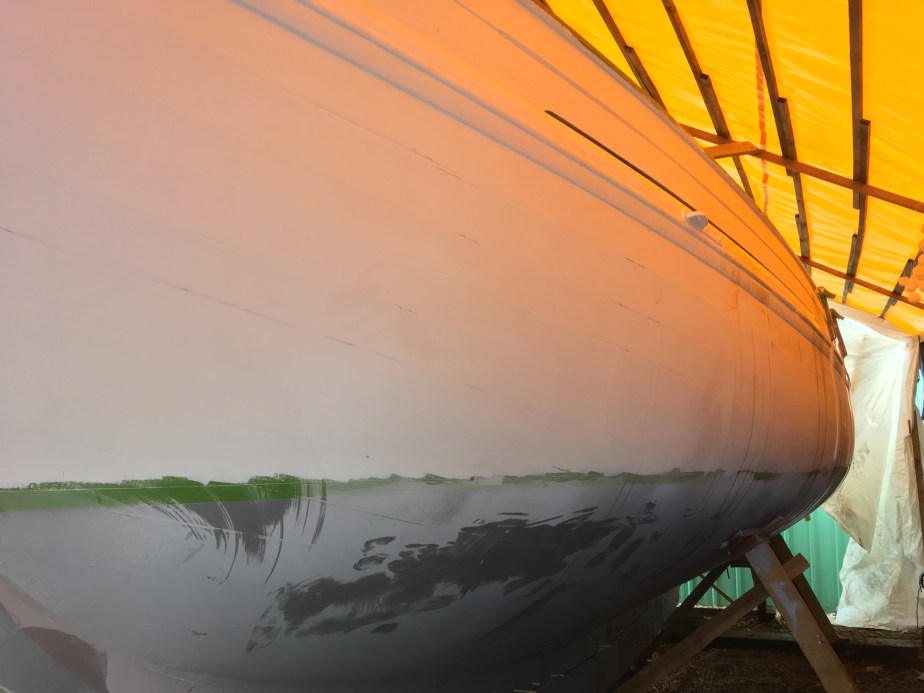
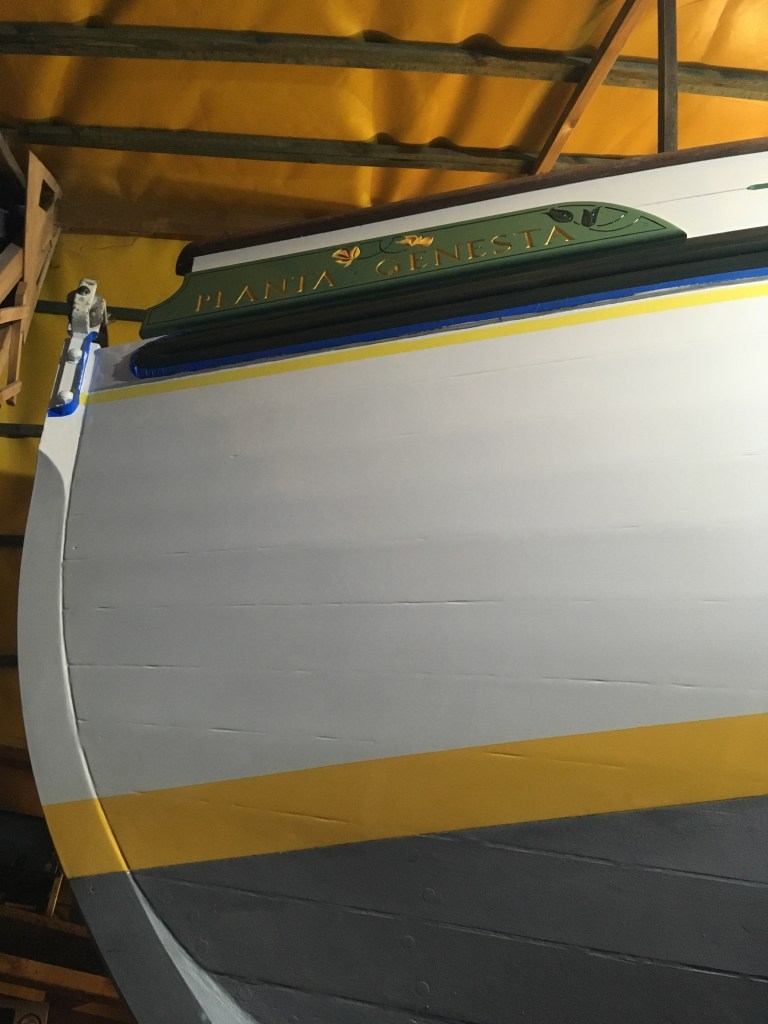
Planta’s paint job for launch is considered a ‘working’ finish. As she takes up we anticipate swelling and squeezing out some of the red lead putty used to pay up. So, primarily looking for a sound foundation for the future, and a reasonable degree of gloss so she can look as good as is sane for the launch.

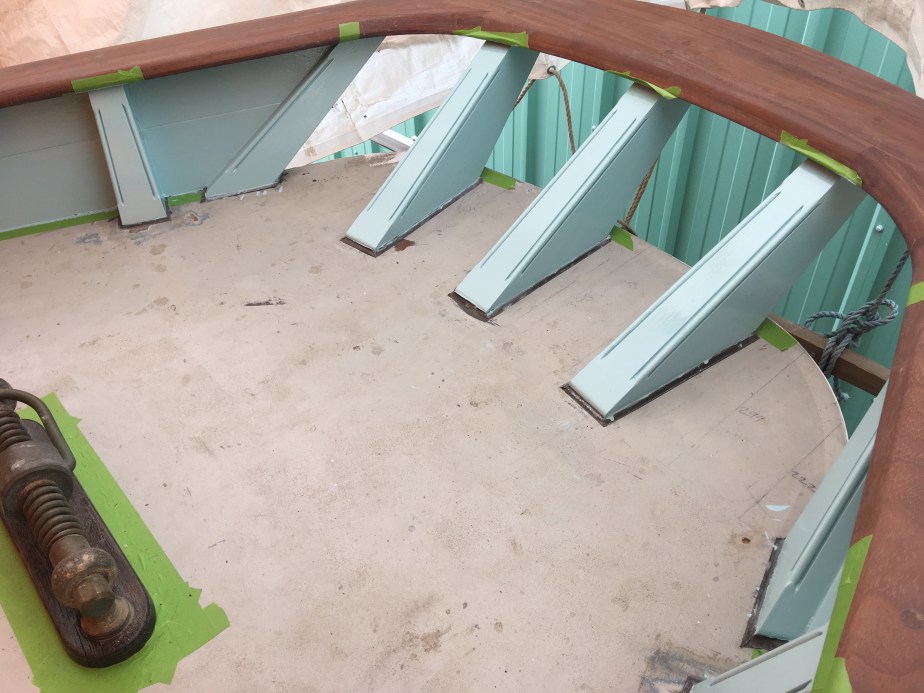
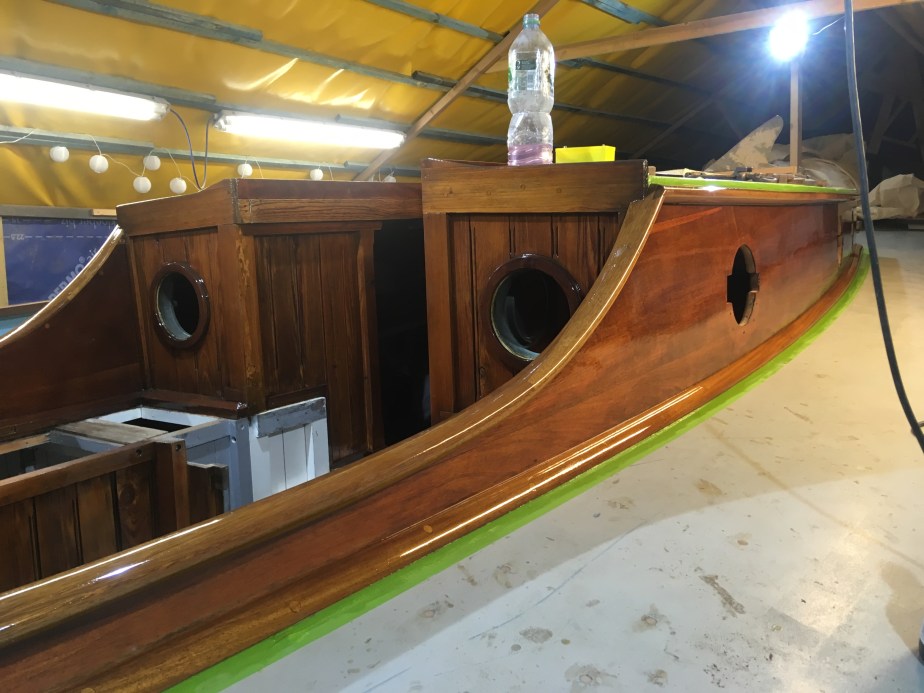
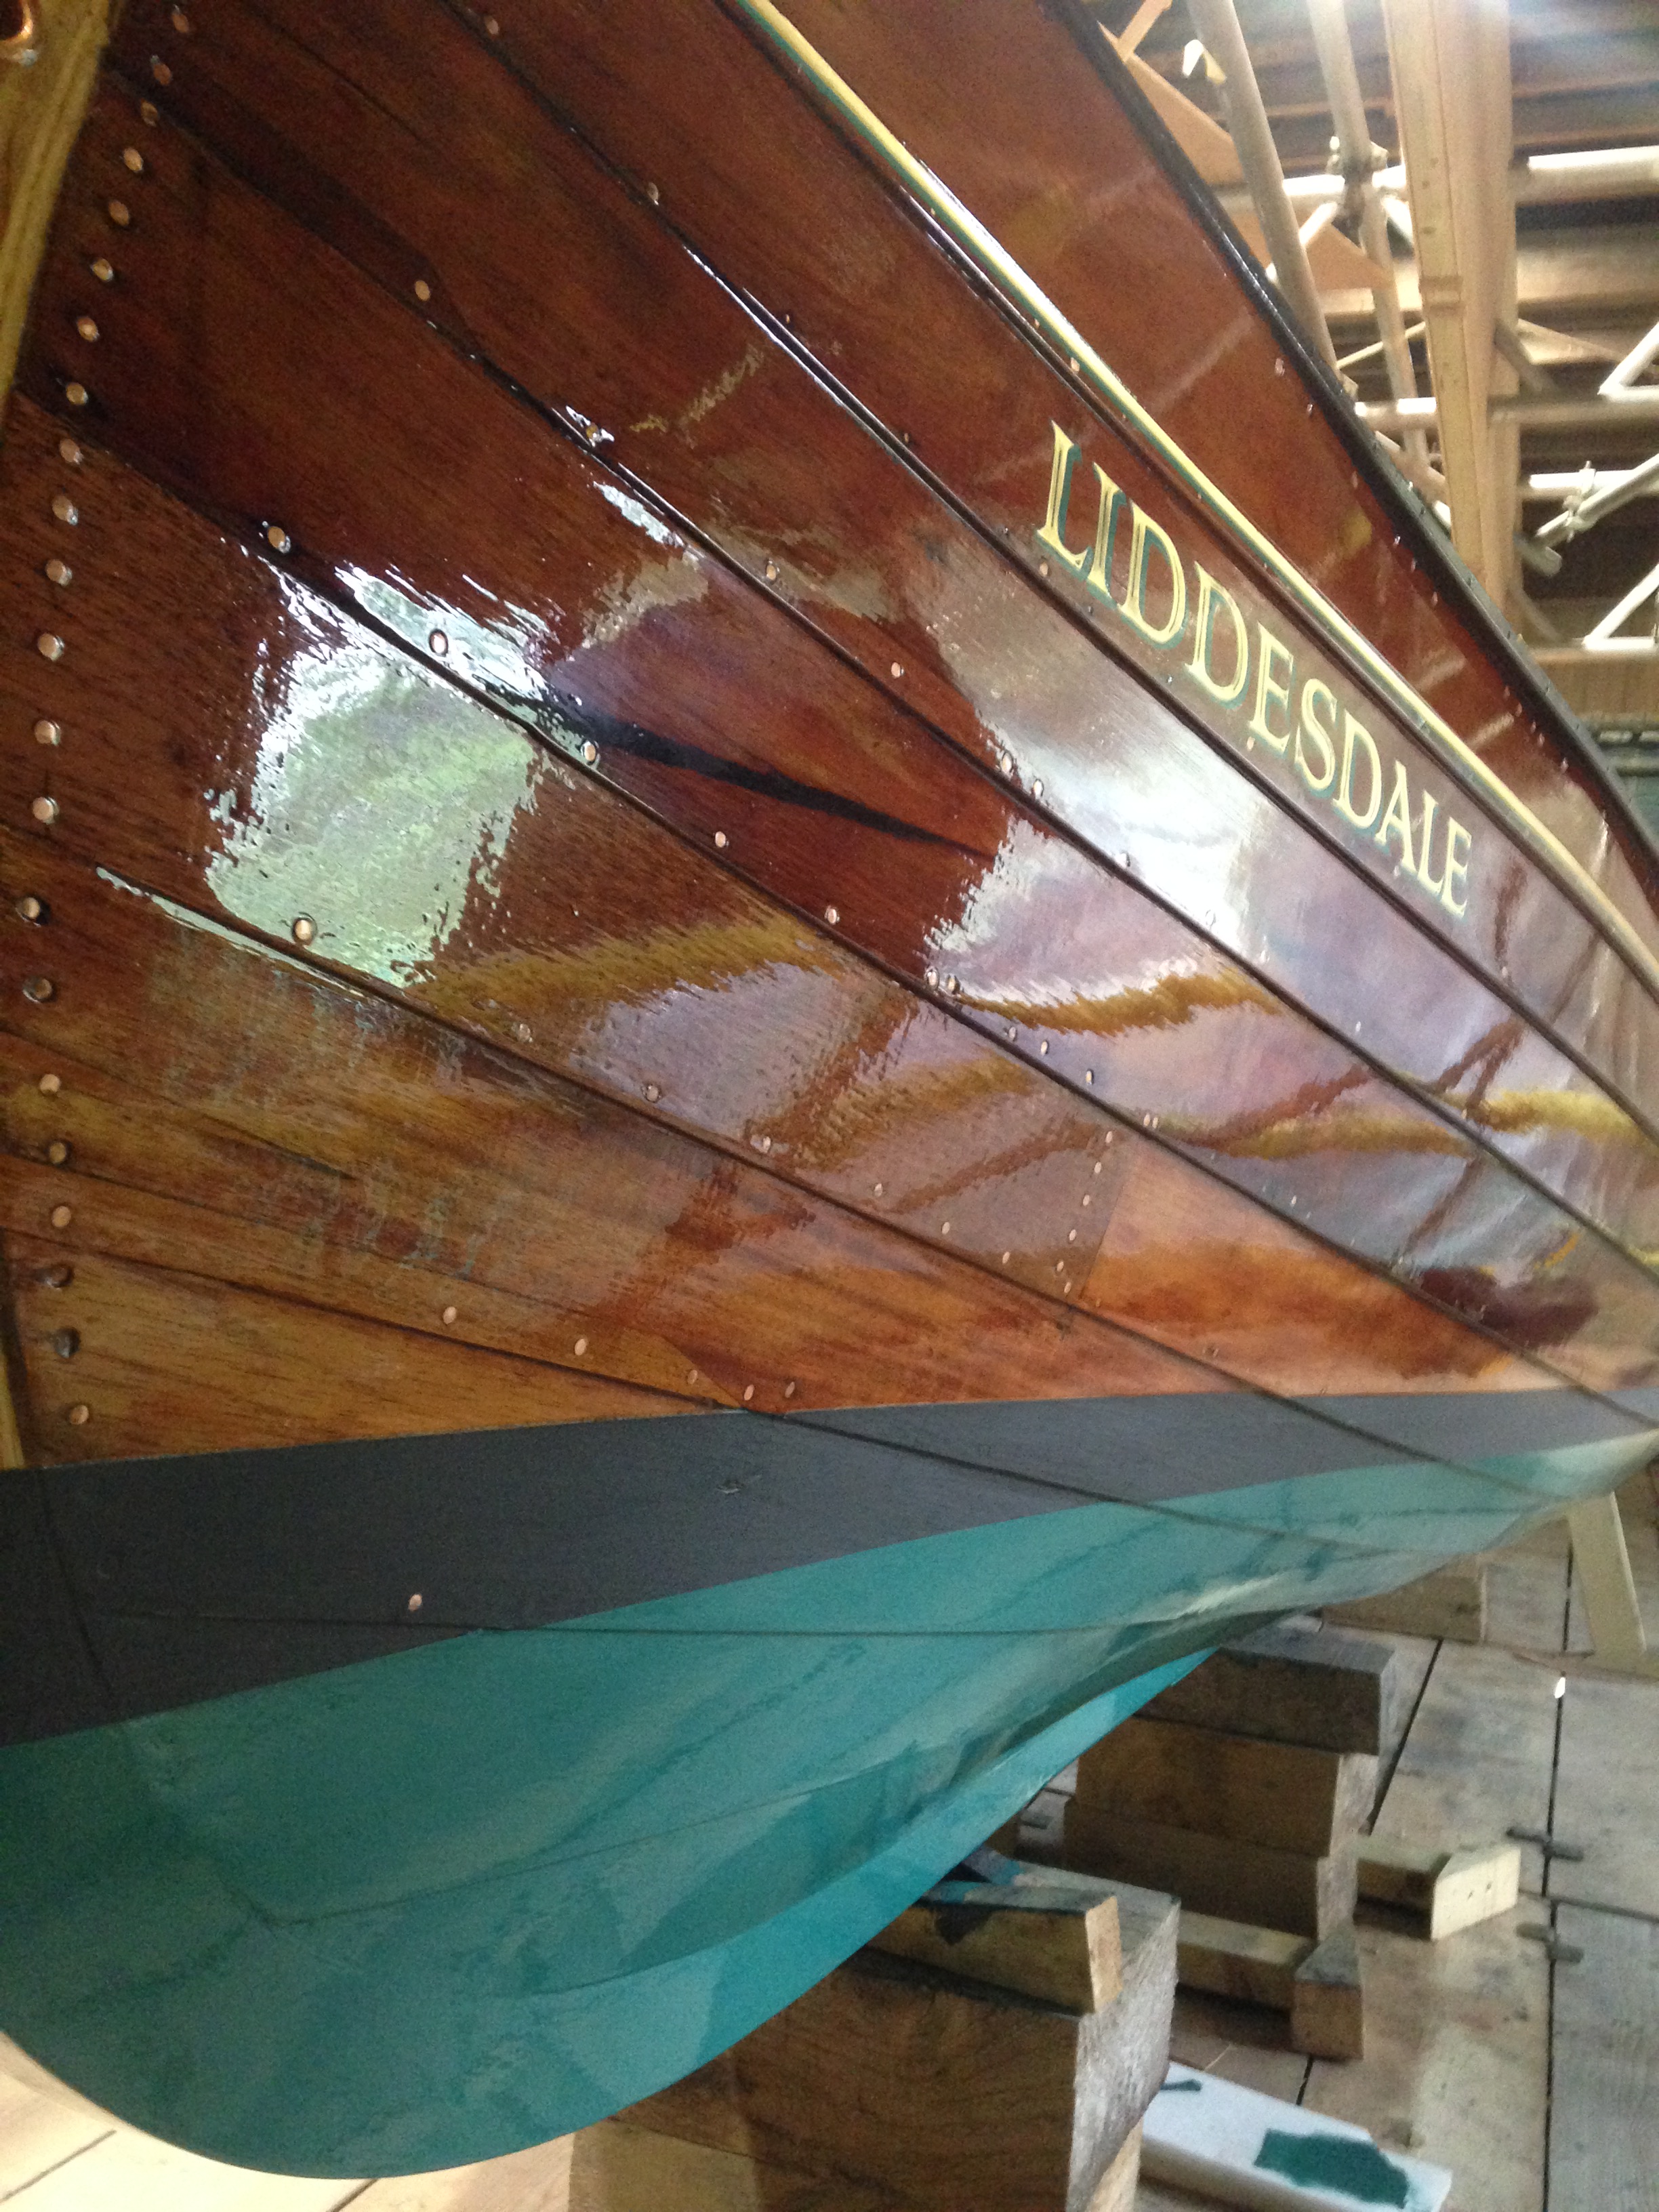
On the exterior we did six coats of primer, two splits primer/undercoat, thirteen coats of undercoat, flatting between every three, a split undercoat/topcoat and two top coats. Everything was rolled and tipped. The duck egg blue/ sky blue bulwarks are something thing we are especially happy with, and there are around sixteen coats varnish on the upperworks.

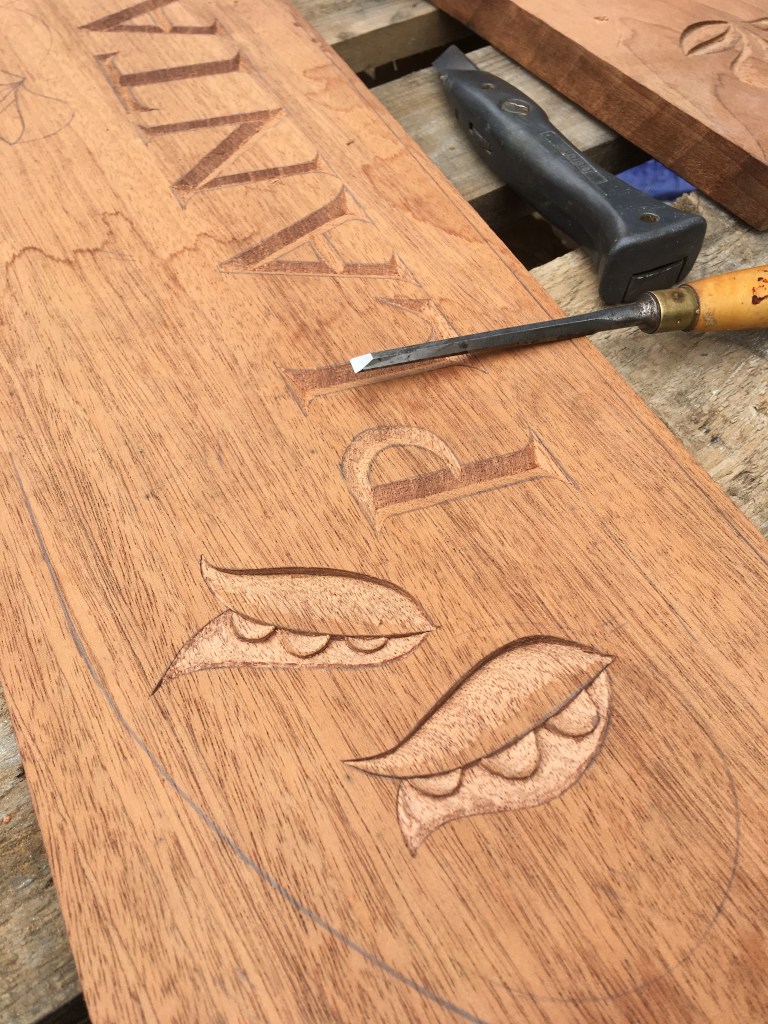
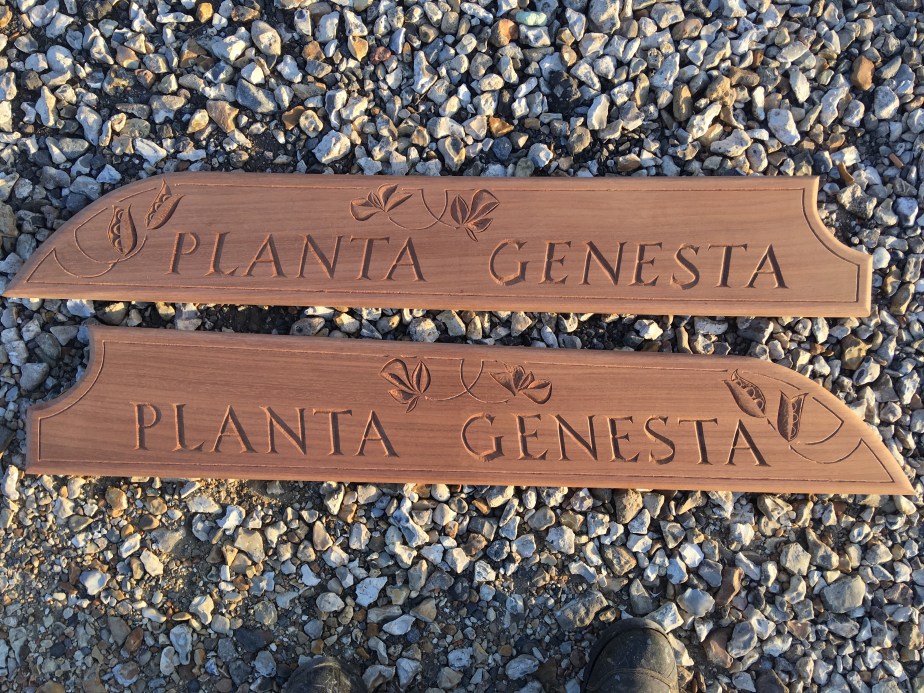
Incidentally, the chosen colour scheme was mostly inspired by the heraldic significance of the broom plant.

In a couple of years time all this will get a serious sanding back and potentially a little refairing. The thickness of paint should help a little when the time comes.

Planta’s cockpit extension. Coaming caps, armadillos, half rounds and quadrants.

Attempting steam bending of Iroko is like playing russian roulette with five bullets in the chamber. It will do it, with extremely careful material selection, soaking the stock for a week, decisive action when committing the bend, and a huge amount of luck. But the chances of material failure during the process are much much higher than usual.

All the caps and beadings were to be made of iroko, and you can see the finished egg shaped section of the caps in the picture above.

This defining detail took some time. As described there was a fair amount of experimentation to achieve the result.

The comparatively gentle bends around the cabin sides responded well, around the cockpit less so, with the coaming sides eventually being scarfed together from two attempted steam bends. This left the problem of the tightly curved coaming cap and quadrant for that raked and radiused after coaming.

Here’s the solution I came up with. Affectionately known as the armadillo, each curve is made of five scarfed pieces. tweaking the stops on each scarf enabled me to put the camber in too. This complex soultion was easier to do than I expected, but it still taught me an enormous amount.

Joining it all together required some joint invention. These ‘half lap bird beak’ joints resulted from the need for a mechanical joint with plenty of gluing area, but with the finished look of a mitre. I really enjoyed coming up with this solution. Explaining my idea to colleagues proved confusing, but the results spoke for themselves, and I repeated the whole process for the quadrants.

Carving the Nameboards.

I made these as a gift to the vessel and owner Mike, designing and carving them outside of work hours, mostly an hour at a time in the mornings. A lovely, meditative process which taught me a huge amount. They’re made of Utile, a nice bland but reasonably durable wood for carving.

Before I could pick up the chisels though, I had to design them. This involved a crash course in signwriting as my chosen type wasn’t quite right. I also discovered that to look part of the vessel, each board needed its letters raked to match the angle of sheer and stempost. The flower and seed pod thing came from a heraldry resource, Planta Genesta being the Broom plant, and associated with the Plantaganets.

Carving them did take a while; although I could do a letter in about twenty minutes there are twenty six of them, plus all the twiddly bits.

Planta’s cockpit extension, making the coamings.

With the real pieces of coaming made up in Khaya, I was keen to avoid a corner post arrangement. The angle of intersection was so obtuse anyway it would’ve had to be really clunky, so instead came up with these long birdmouths to provide a mechanical joint. This was a good challenge to my colleague and fun to cut. A nice long stupidly sharp paring chisel was the key to a perfect fit.

Fettling everything to fit took patience and a super methodical approach as the whole thing was a sort of four way fit. It did help that the curved after piece’s two sides worked out ever so slightly tapered compared to each other, making for a very satisfactory final assembly.

Planta’s Cockpit extension. Getting Started.

We’d cut the hole n the deck to extend PG’s cockpit some time ago. A decision was made to make the after coaming raked as well as radiused so the first thing to do was work out what shape everything had to be. Design in situ by means of thin plywood templating and slender battens to represent coaming caps. This is quite an organic process really, but it enables everyone to stand back and have a good squint whilst giving very definite answers to questions about shape and dimension.

I used Khaya construction veneers to laminate the stock that would become that raked coaming, and in the lower picture you can see the start of the fashion pieces inserted under deck to provide structural backing.

A Boring Job on Planta.

With apologies to my customer for stealing his dreadful pun, yes, we have just successfully drilled a hole for the stern tube on Planta Genesta. Here are some pictures of the first bit of the set up, designed to help us drill a very accurate 1″ pilot hole just under 3 feet long from both inside and outside the vessel and get them to meet in the middle, which they did really well. Then the hole was opened up to its final 1 3/4″ diameter with a boring bar.. Actually we needed two, but with care and perseverance the resulting hole fits the stern tube beautifully.

IMG_1131


Planta’s never mind the Bulwarks.

Phew. here are pictures demonstrating how much effort those bulwarks took to make real, turns out quite a lot, especially solo. With the exception of the counter, they do not really show the capping rails which have really worked. Instead there’s planks, knightheads, stub tenons, a couple of carlin extensions for good measure, and the very beginning of the vessels nameboards. Expect pics of the complete job with taffrails very soon, we glued and screwed them the other day.

IMG_0795


Liddesdale launched.

We got together at Cliveden in mid September and launched Nancy Astor’s canoe on a beautiful still autumn morning. It went like clockwork, and I was even a tiny bit dismayed to discover that she didn’t leak a drop. The vessel probably floating on her paint.

Cue a weekend ‘testing’. The Liddesdale is powerful, quiet and fast. Unsurprisingly she has character when it comes to manoeuvring, being much happier turning to starboard. Over the course of a few trips out however, we discovered ways to coax the best from the vessel. And with that, we handed over the keys to the National Trust with immense pride.

Finishing.

It’s proving hard to choose from so many great pictures, so please wade through the below as representative examples. The Liddesdale Canoe was finished with 16 coats of International Original varnish above the waterline inside and out. Below the waterline, dulux weathershield system with 6 coats primer, 9coats undercoat, a split and a top coat. Our colleague from college, Justin Miller joined us for two weeks in order to help us through the first ten coats. The sixteenth coat was applied after all electrical install and signwriting had been completed. She’s not perfect, but as good as we could possibly achieve in the environment we were working in.

IMG_8161